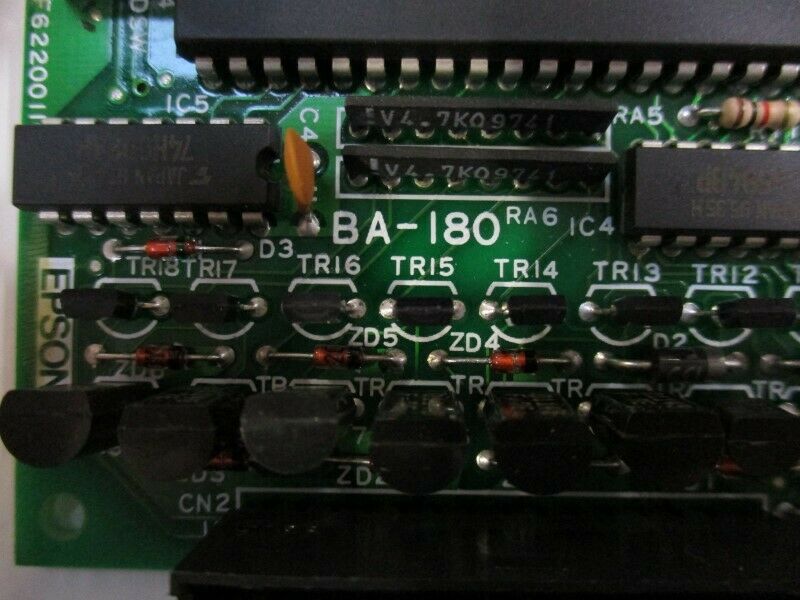
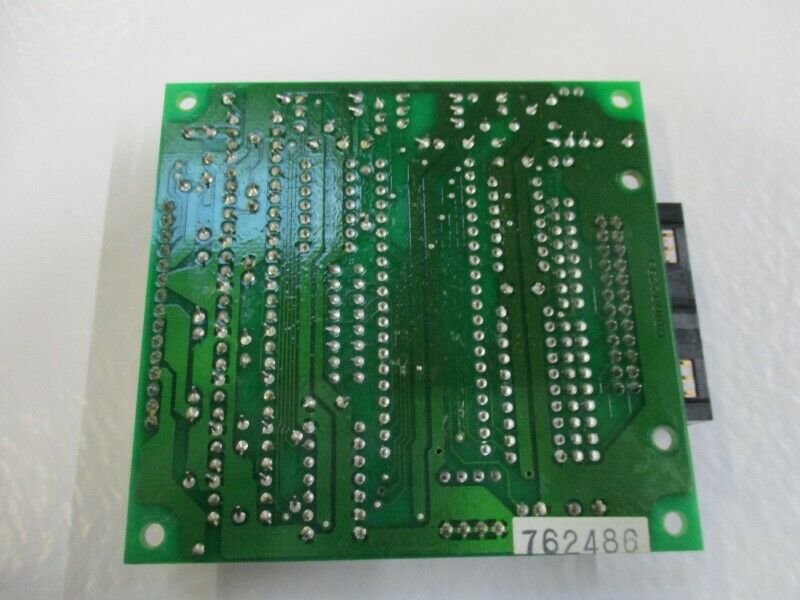
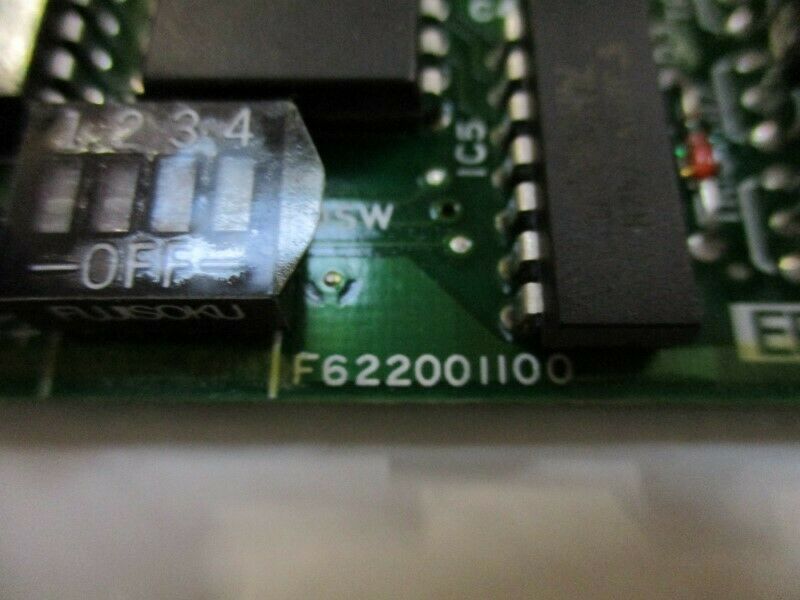
Epson Seiko BA-180 controller card
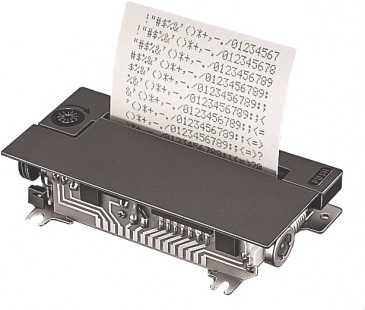
for M-180 series printer mechanism
carte BA-180 Epson Seiko for M-180 printer mechanism.- Page
de Ressources


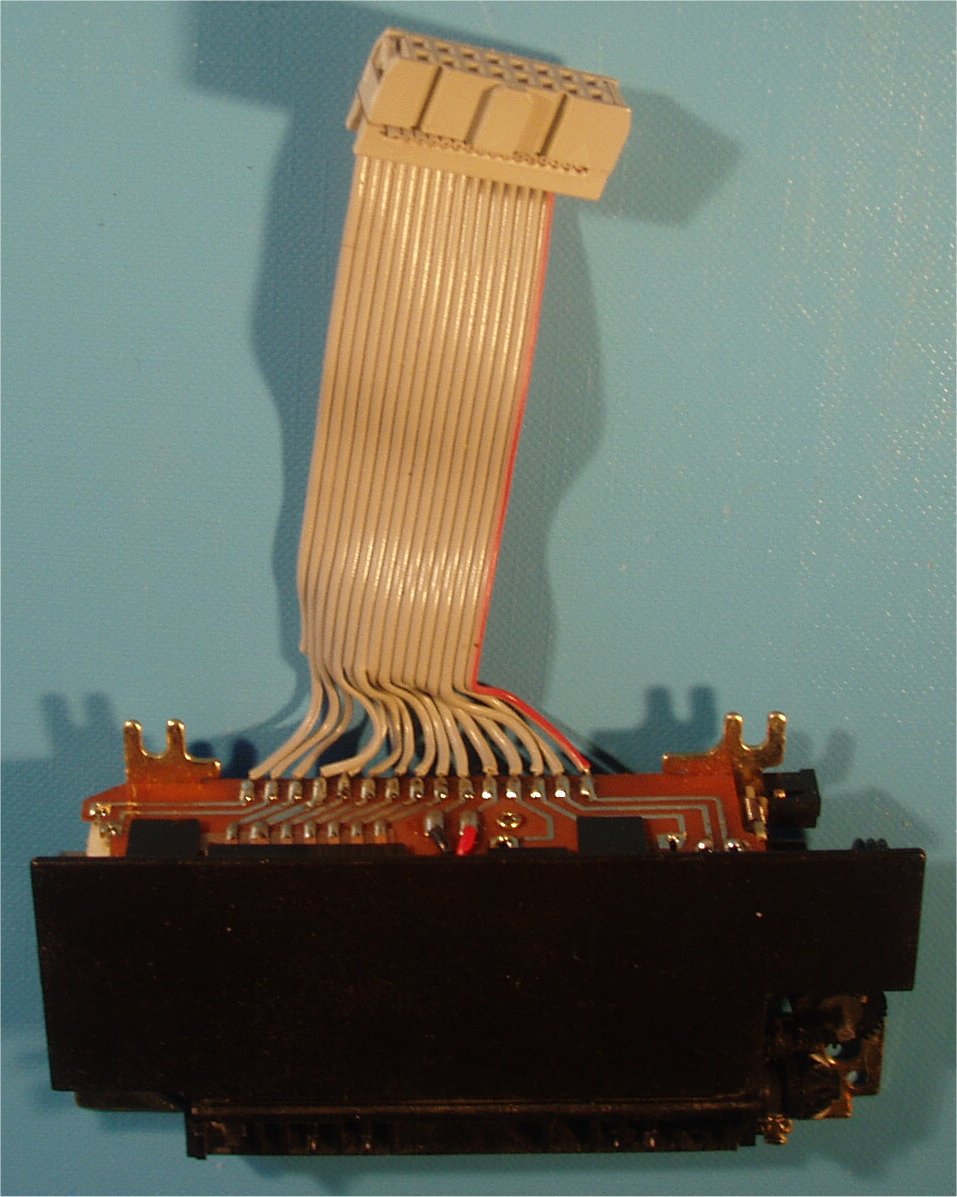
Epson BA180 connector Fujitsu 24 pins
A12 11 10 9 8 7 6 5 4 3 2 1
B 12 11 10 9 8 7 6 5 4 3 2 1
if Vcc-GND is 5VDC then all the signals are compatible to TTL levels
serial cable interface to cid-plus board
use 8 wires twisted pairs shielded as short as possible
-----------------------------------------------------------------------------------------------------------------------------------------------------------------
low voltage computer cable as short as possible with twisted pairs
A7 black/green !SLIN data transfer On Line / Off-line
A9 red output !DTR Data Terminal Ready
A11 black/red GND GND AB11, AB12
A12 yellow GND
B7 blue !PF Paper feed input
B8 white RxD signal input
B10 green Vcc AB10 Vcc : connect to 5VDC power supply ratings to be checked
B12 black/yellow GND
connexion au port série d'un pc avec un adaptateur RS232 vers TTL

----------------------------------------------------------------------------------------------------------------------------------------------------------------

MODE COM1:9600,N,8,1,P
Note : Le paramètre P final est crucial sous DOS, car il force le système à attendre indéfiniment si le signal de contrôle de flux matériel (votre ligne CTS connectée au DTR de la carte) indique que l'imprimante est occupée.
ECHO Hello World! > COM1
Here is the precise schematic diagram for building the serial interface adapter between an RS232 port (Computer/PLC side, DB9 Female)
and the Epson BA-180 controller board (TTL level, 0-5V) using a MAX232 integrated circuit.
This design implements hardware flow control by taking the DTR signal from the BA-180 board
(which signals whether the M180 printer buffer is full or ready) and converting it into a standard CTS signal
for the computer.1. MAX232 Pinout & Wiring DiagramThe MAX232 requires 4 charge pump capacitors
(1 µF electrolytic capacitors, rated for at least 16V) to generate the internal RS232 voltage rails (± 10V) from the +5V TTL line.


autotest

DIP Switches
Switch 1 : Laissez-le en haut sur ON (Active la vitesse de 9600 bauds).
Switch 2 : Poussez-le vers le bas sur OFF (Pas de parité).
Switch 3 : Poussez-le vers le bas sur OFF (Format 8 bits).
Switch 4 : Poussez-le vers le bas sur OFF (1 bit d'arrêt).

The Bit-Image Graphics Principle
On the Epson M-180 series, graphics are printed column by column,
from left to right. Each data byte you send represents a vertical column of
8 pixels:Bit 7 (Most Significant Bit) controls the top pixel.Bit 0 (Least
Significant Bit) controls the bottom pixel.A 1 bit prints a black dot, while
a 0 bit leaves a blank space.The Graphics Command SyntaxTo switch the BA-180
board from text mode into graphics mode, you must send the following sequence:CHR$(27)
+ "K" + CHR$(n) + [Binary Data]CHR$(27): The ESC (Escape) character."K":
The command for standard 8-dot bit-image mode.CHR$(n): The total number of
graphic columns to print on that line.(Note: The M-180 mechanism width typically
ranges from 144 to 198 dots maximum per line, depending on the exact model.
Make sure n does not exceed your hardware limit).QuickBASIC Code Example (Printing
a Pattern)This script initializes the graphics mode and prints an alternating
checkered pattern (vertical bars of alternating pixels).qbasicCLS
PRINT "Sending graphic pattern to the Epson printer..."
' 1. Define the width of your graphic area (e.g., 40 columns)
WidthVal = 40
' 2. Send the graphics initialization command
' ESC + "K" + Number of columns
LPRINT CHR$(27) + "K" + CHR$(WidthVal);
' 3. Send the raw binary pixel data
FOR i = 1 TO WidthVal
IF (i MOD 2 = 0) THEN
' Pattern 1: 10101010 in binary = 170 in decimal
LPRINT CHR$(170);
ELSE
' Pattern 2: 01010101 in binary = 85 in decimal
LPRINT CHR$(85);
END IF
NEXT i
' 4. Force the print mechanism to cycle and advance the paper
LPRINT CHR$(10);
PRINT "Graphics printing complete!"
END
Critical Pitfalls in QuickBASIC GraphicsThe Semicolon ( ; ) is Mandatory:
When streaming binary data using LPRINT CHR$(value);, always append a semicolon.
If omitted, QuickBASIC will append a carriage return and line feed right in the middle of your graphics data stream,
corrupting the image.DOS Binary Safety: Because you are using MODE LPT1:=COM1:, DOS intercepts the data.
Be careful with sending CHR$(26) (EOF/Ctrl+Z) or CHR$(13) (CR) inside your graphic stream, as DOS might occasionally
try to interpret them. The hardware handshake rule (MODE COM1:...,P) you set up will safeguard against buffer
overflows during heavy graphic loads.What kind of visual output are you building (e.g., a sensor graph, a custom logo, or barcodes)?
' =========================================================================
' EPSON BA-180 / M-180 CUSTOM LOGO BITMAP PRINTER FOR QUICKBASIC
' =========================================================================
CLS
Dim FileHeader As String * 54 ' Standard BMP Header size
Dim FileName As String
FileName = "LOGO.BMP" ' Change this to your filename
PRINT "Opening bitmap file: "; FileName
Open FileName For Binary As #1
' 1. Read and validate BMP File Header
Get #1, 1, FileHeader
If Mid$(FileHeader, 1, 2) <> "BM" Then
PRINT "Error: Not a valid BMP file!"
Close #1: End
End If
' Extract Width and Height from the BMP header (32-bit integers)
Dim BmpWidth As Long, BmpHeight As Long
BmpWidth = CVI(Mid$(FileHeader, 19, 2))
BmpHeight = CVI(Mid$(FileHeader, 23, 2))
PRINT "Logo Dimensions: "; BmpWidth; "x"; BmpHeight; "
pixels."
If BmpWidth > 144 Then
PRINT "Warning: Width exceeds M-180 limits (144 max). Splitting may occur."
End If
' 2. Calculate BMP Row Padding (BMP lines are padded to multiples of 4 bytes)
Dim RowBytes As Integer
RowBytes = ((BmpWidth + 31) \ 32) * 4
' Load the entire pixel matrix into memory
' Note: BMP pixels are stored from BOTTOM to TOP, left to right.
Dim PixelByte As String * 1
Dim Matrix(144, 256) As Integer ' Supports logos up to 144x256 pixels
PRINT "Loading bitmap matrix into memory..."
Dim StartOffset As Long
StartOffset = CVL(Mid$(FileHeader, 11, 4)) + 1 ' File offset where pixel data
starts
For Y = 0 To BmpHeight - 1
For Xbyte = 0 To RowBytes - 1
Get #1, StartOffset + (Y * RowBytes) + Xbyte, PixelByte
CurrentByte = Asc(PixelByte)
' Decode 8 horizontal pixels from each BMP byte
For Bit = 0 To 7
Xpixel = (Xbyte * 8) + Bit
If Xpixel < BmpWidth Then
' In 1-bit BMP, a '0' bit is black, '1' bit is white.
' We invert it so 1 = Print Black Dot, 0 = Blank.
If (CurrentByte And (2 ^ (7 - Bit))) = 0 Then
Matrix(Xpixel, Y) = 1
Else
Matrix(Xpixel, Y) = 0
End If
End If
Next Bit
Next Xbyte
Next Y
Close #1
' 3. Stream to the Epson BA-180 Board
PRINT "Streaming data to Epson BA-180 via LPT1..."
' Set tighter line spacing (8-dot microsteps) so graphic slices don't have
gaps
' ESC + "3" + CHR$(24) -> 24/216 inch spacing matches the 8-dot
height perfectly
LPRINT ChRow$(27) + "3" + ChRow$(24);
' Process the image in vertical strips of 8 pixels high
' Moving from TOP of the image to the BOTTOM
For Strip = (BmpHeight \ 8) - 1 To 0 Step -1
' Trigger 8-dot Bit-Image Graphics Mode
' ESC + "K" + Width of the strip
LPRINT ChRow$(27) + "K" + ChRow$(BmpWidth);
' Build each column byte for the current 8-pixel high strip
For X = 0 To BmpWidth - 1
PrintByte = 0
' Map 8 vertical pixels into 1 single byte for the print head
For Dot = 0 To 7
Ypixel = (Strip * 8) + (7 - Dot)
If Matrix(X, Ypixel) = 1 Then
PrintByte = PrintByte + (2 ^ Dot)
End If
Next Dot
' Send the column byte to the printer
LPRINT ChRow$(PrintByte);
Next X
' Feed paper by the 8-dot microstep height to prepare for the next slice
LPRINT ChRow$(10);
Next Strip
' Reset printer back to standard text line spacing (1/6 inch)
LPRINT ChRow$(27) + "2";
PRINT "Done! Logo printed successfully."
End
' Helper function to bypass QuickBASIC's occasional string handling quirks
Function ChRow$ (Value As Integer)
ChRow$ = Chr$(Value)
End Function
----------------------------------------------------------------------------------------------------------------------------------------------------------------------------------------
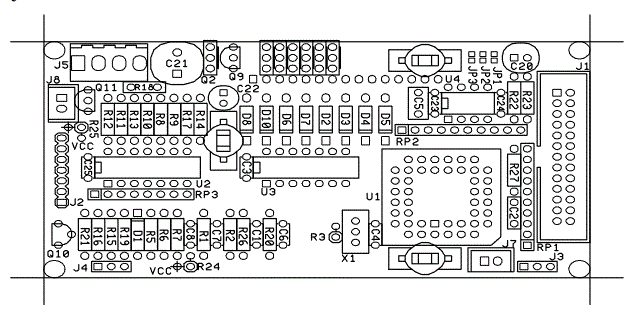
connections to a DIP-16 connector on the cidplus card
1 - (red)
2 -
3 -NC
4 - NC
5 -(white)
6 - (white/blue)
7 - (black/red)
8 - GND (yellow)
9 - VCC 5VDC (green)
10 -NC
11 - NC
12 - NC
13 - NC
14- NC
15- GND (black/blue)
16 - GND (black/yellow)
------------------------------------------------------------------------------------------------------------------------------------------------------------------

suitable connector socket Fujitsu FCN-361J024


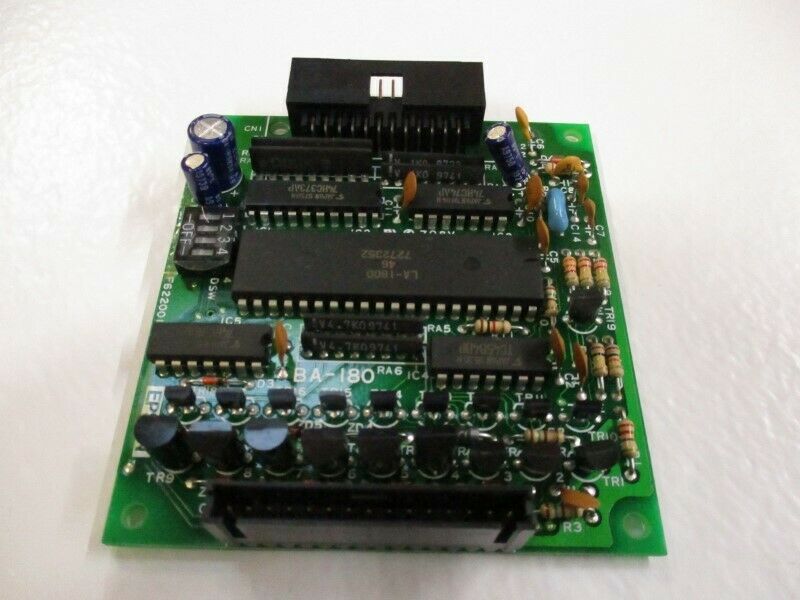 |
based on LA-180D 46 7272352 masked microcontroller
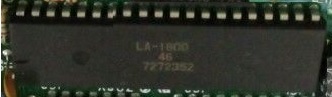

LA-180D 46 9132351


 Epson
Seiko BA-180 Specification (PDF- 47 pages - 1.73Mb)
Epson
Seiko BA-180 Specification (PDF- 47 pages - 1.73Mb)
 epson
miniprinter (pdf - 4 pages - 2.50Mb)
epson
miniprinter (pdf - 4 pages - 2.50Mb)


https://github.com/spearson78/arduino-m190 epson M190 mechanism controlled by an Arduino by Steven Pearson
https://forum.arduino.cc/t/driving-an-epson-m185-shuttle-dot-impact-printer-mechanism/1356599/32
https://forum.arduino.cc/t/printing-with-an-epson-m150-ii-micro-dot-matrix-printer/155627
EPSON Seiko Technical
manual micro dot printer Model-180 (M-180), Model-181 , Model-182, Model-183,
Model-185 English (PDF-62 pages - 2.83Mb)
https://www.usmicroproducts.com/sites/default/files/datasheets/USMP-PN10-20SERIES.pdf
EPSON M-150 Mechanism Micro-Dot printer
http://forum.arduino.cc/index.php?topic=159360.0
 Caller ID printer Module (PDF
- 6 pages - 5.96Mb)
Caller ID printer Module (PDF
- 6 pages - 5.96Mb)

custom_cd/ing/oem/10-07.htm M-180/190 series Best Seller of Shuttle Dot Printers
index.htm Custom CD index Global Printing Technologies OEM products and POS products (release 2.0 (02/00)
https://www.mtechprinters.co.uk/products/mlx100.html Mylox MLX-100 Interface for Epson Impact Dot Matrix Mechanisms
https://www.farnell.com/datasheets/18251.pdf M-160 technical manual micro dot printer
https://docs.rs-online.com/c911/0900766b80217737.pdf M150/M160/M164 Miniature Needle Printer Mechanisms
https://www.mtechprinters.co.uk/products/m160.html Epson OEM Miniprinter Mechanisms Epson M160, M190 & M192
https://www.andig.fr/files/pdf/printer/head/epson-m190/sf_m190_2009_f02.pdf
https://github.com/spearson78/arduino-m190